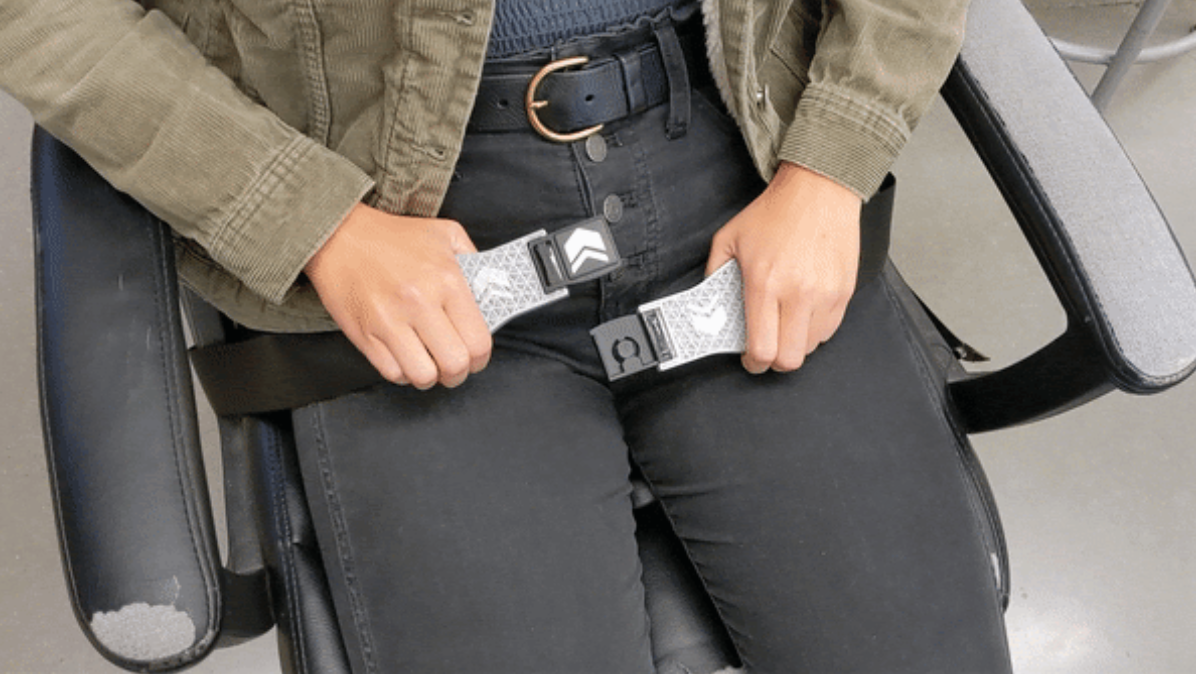
This project was a challenge presented to my assistive technology class by Danny, a local resident that suffers from cerebral palsy. The challenge was allowing Danny to be able to open and close his own wheelchair restraint. Danny spends the majority of his day in his wheelchair and needs to be able to buckle and unbuckle his restraint independently. From my team's interviews we learned that Danny is capable of unbuckling his existing belt, which involves using his thumb to press a red button. However, Danny has difficulty aligning the buckle to clasp it. When Danny unbuckles, as he does multiple times a day, he needs assistance to buckle afterwards. My team has designed a new magnetic buckle concept that does not require alignment of two parts. Our solution consists of two design directions: a large magnetic buckle mechanism and a strap attachment. Modeled from a small existing magnetic buckle on the market, our first direction involved designing and 3D printing a larger version to fit to the nylon straps of Danny’s existing belt. As for our second design direction, the strap attachment focuses on adapting the existing market solution to be stiffer and easier to grasp, rather than redesigning the buckle itself. Our two final prototypes show promising results with potential for aesthetic customization and usability for Danny and other wheelchair users.

Knowing that alignment is the problem area, our team shifted toward using magnets as a guiding factor for the buckle halves. We sketched several versions of buckles incorporating magnets as a buckle attachment or new shape.
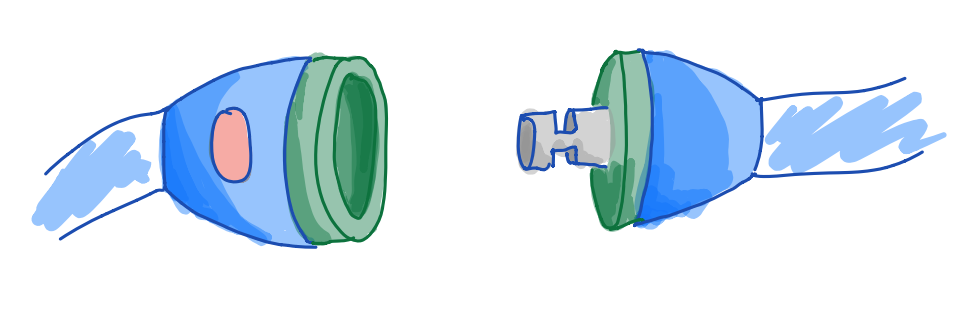
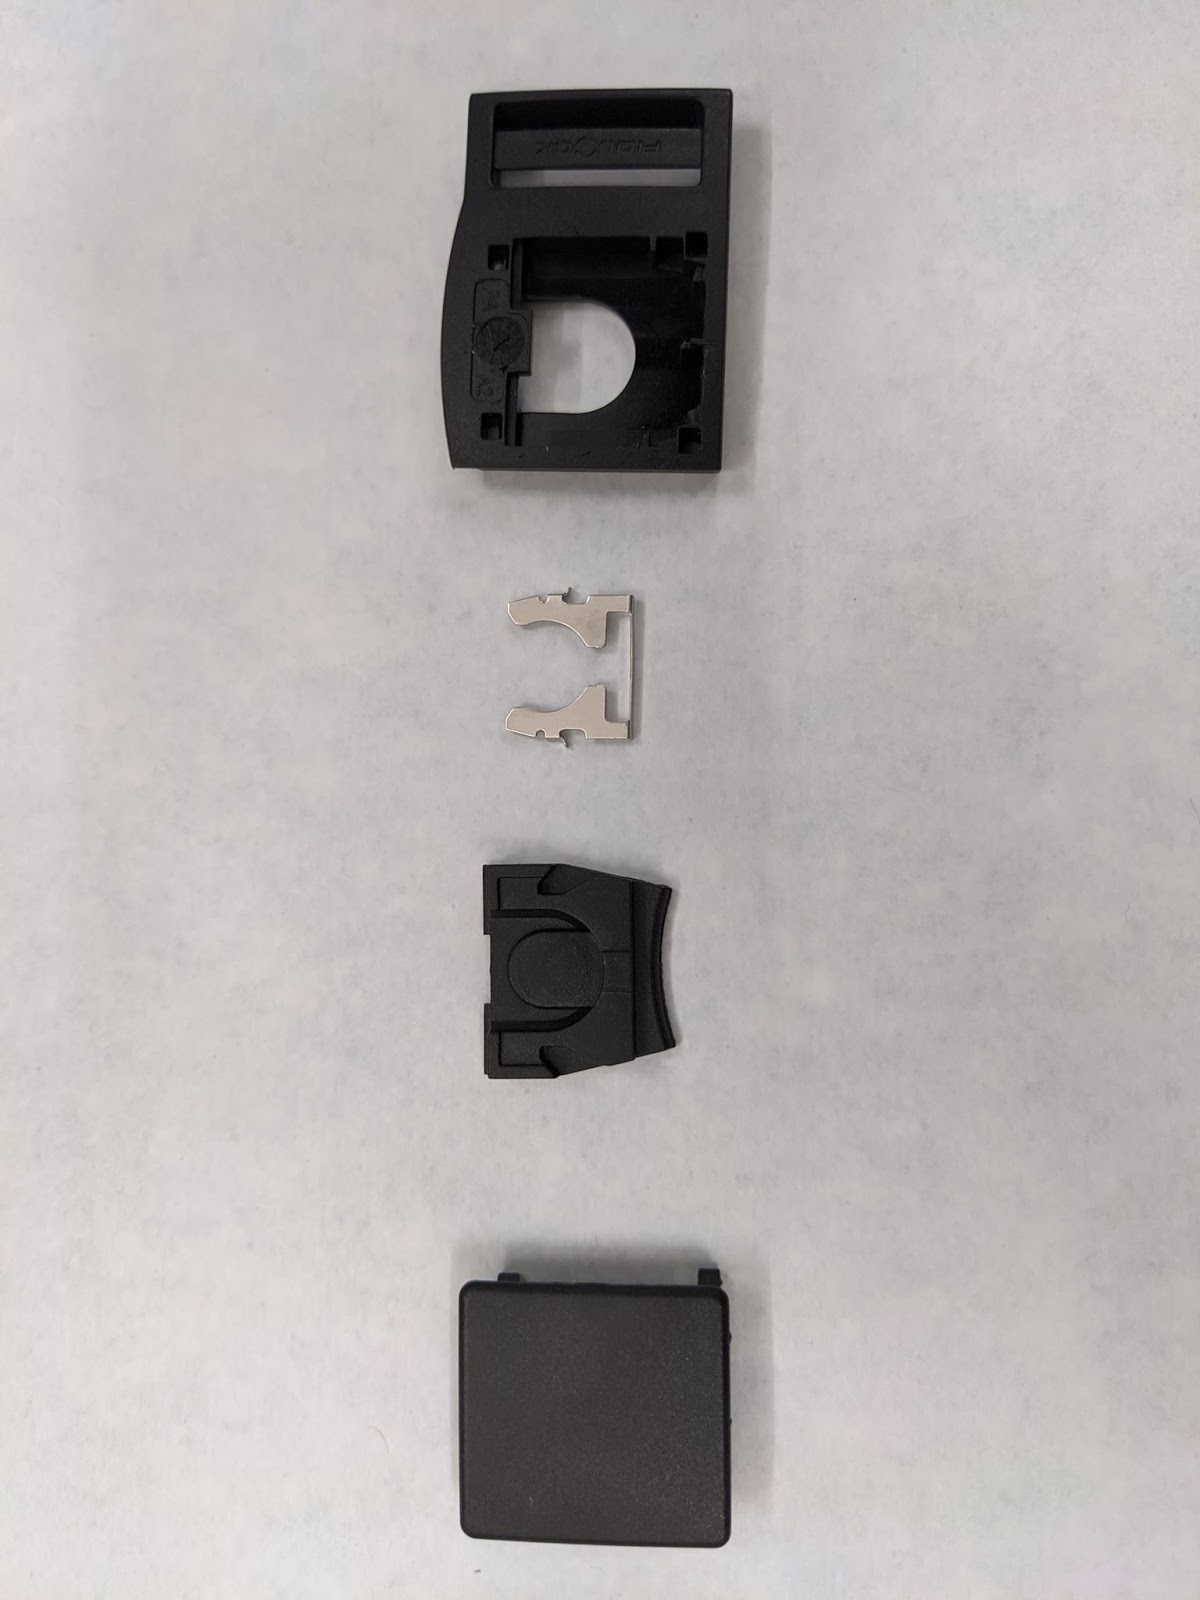
Ultimately, we found a magnetic buckle that we ordered online that had an incredibly efficient design. They used strong magnets to snap together and easily slid apart. However, they were too small and very difficult for Danny to work with. We decided to continue editing this design to better fit the size and comfort of Danny’s specific restraint and moved on to our 3D modeling and print.
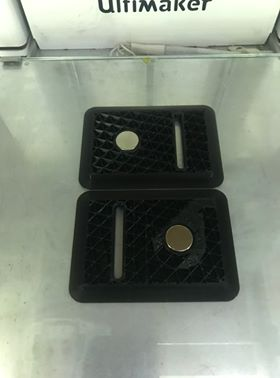

In the Ultimaker, we used a process with mid-print inserts to pause the print, insert the magnet disks, and continue the print without compromising the structural integrity of the material. While we did not focus on aesthetics, the function was there - the two halves experience some level of snapping together, though somewhat weaker than expected. Some of the tolerances were also off, so the fit of the two halves was not ideal.

As mentioned in the introduction, the use of a magnet design required a stiffer and larger strap for Danny to better grasp and slide open, and thus we began prototyping this stiffer aspect as well. We decided to add a popsicle stick taped directly to the buckle against a nylon strap, to better emulate a wheelchair buckle. This was much stiffer and very successful for maneuvering the sliding mechanism. It was also extremely thin and did not add an element of uncomfortableness.
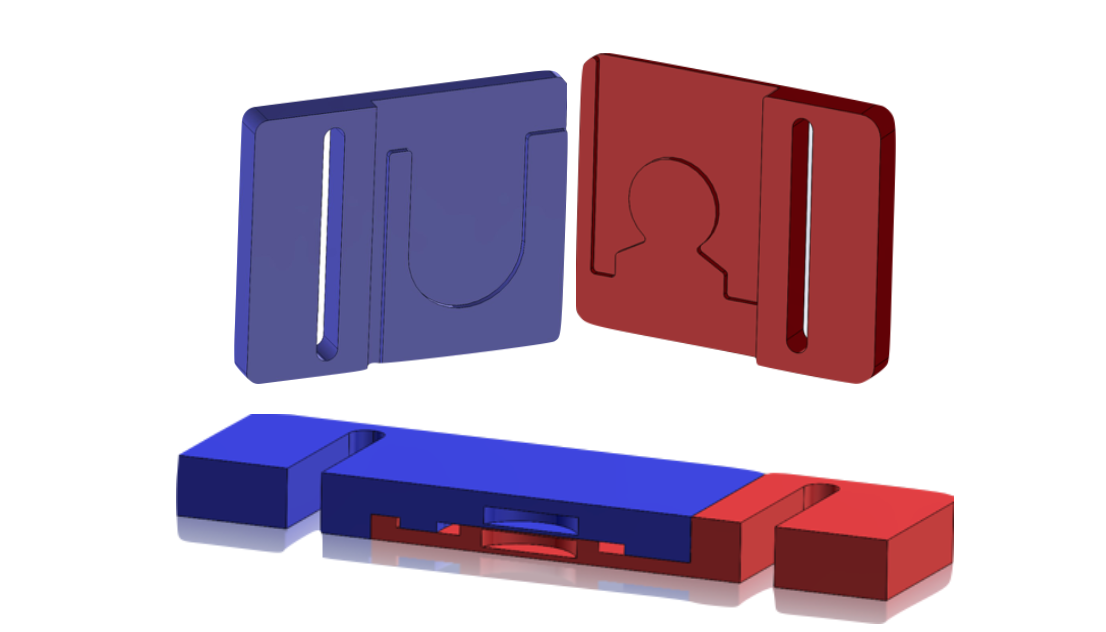
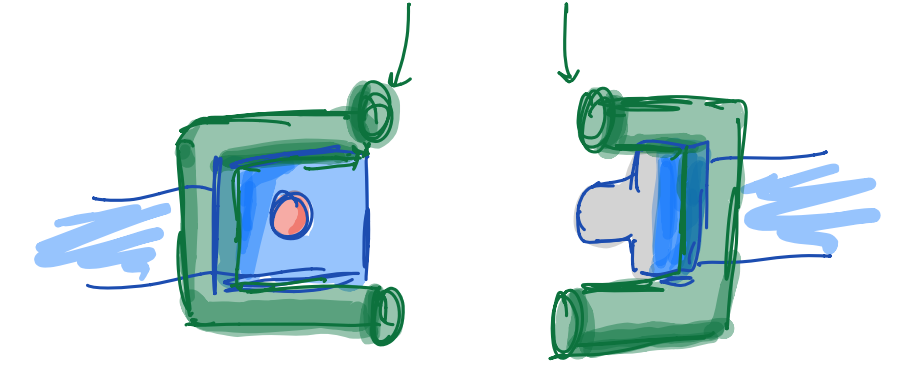
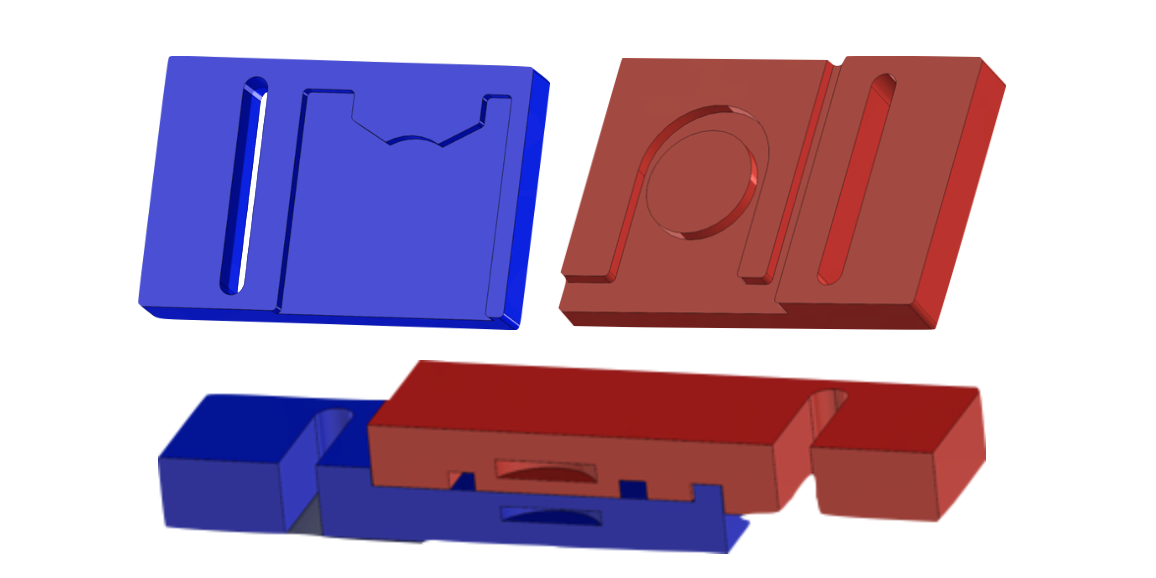
After carefully analyzing our first buckle prototype, we decided that there were a couple of areas we could improve on for the next iteration of printing. First, we decided to change the internal geometries and remove the circular stop that was mating with the circular extrusion. We found that this design interfered with the mating of the two buckle halves. Instead, we had the two rectangular sliders stop against the walls of the buckle. Having two points of contact instead of three helped to correct our original mating issue. The next area we wanted to work on was overall thickness of the buckle. The first version was a bit clunky and took up a lot of unnecessary space. This bulkiness also interfered with the magnet strength and made it weaker, so we decreased the thickness of the insert walls. Finally, we changed the dimensions of the internal and external features and had them match for a flush surface whenever the two halves were mated.
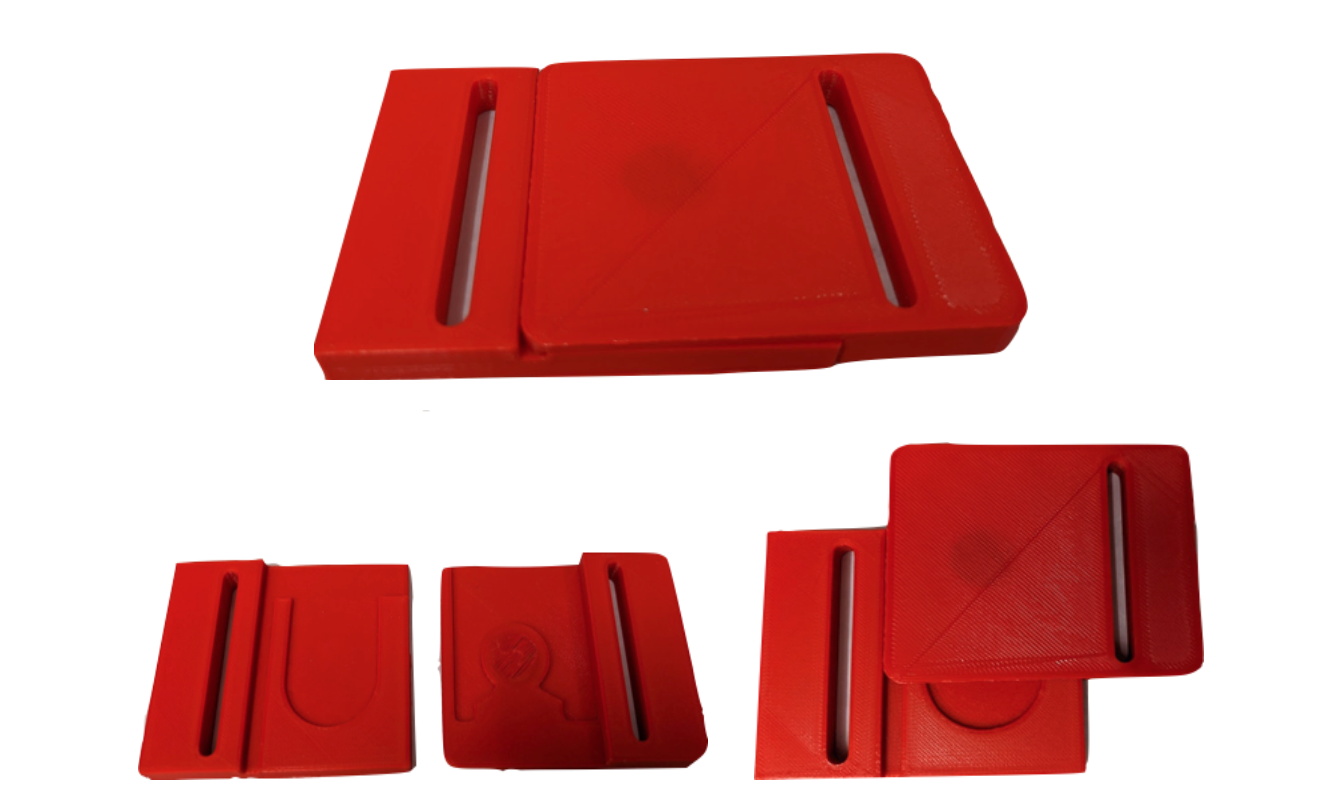
As seen above, the aesthetics of our buckle were significantly improved. Our new design was a lot slimmer and mated more smoothly than our first version. Also, decreasing the thickness between the magnet inserts proved to be a success and made the mating between the two buckle halves stronger.
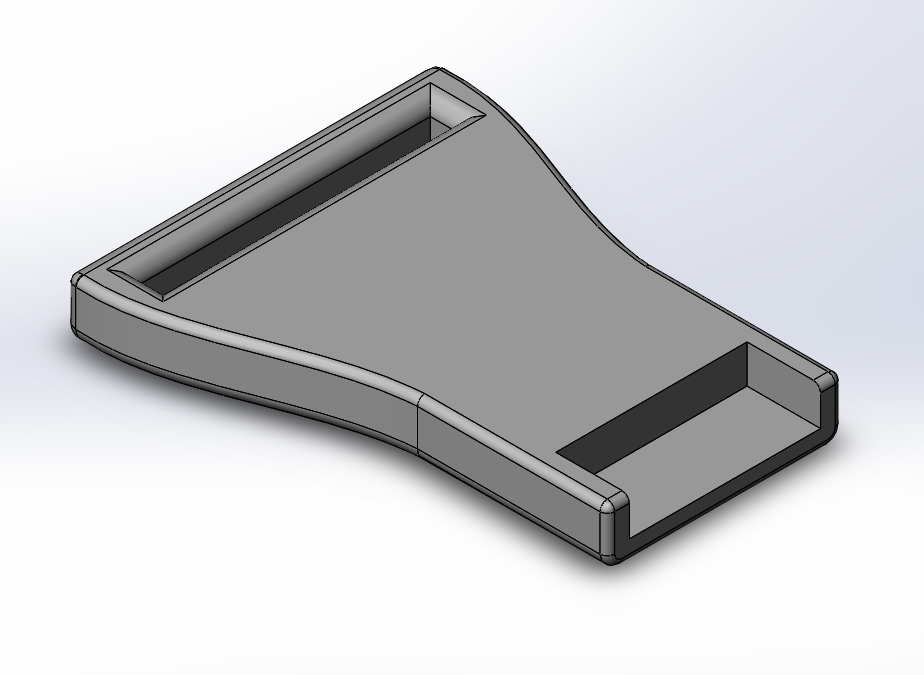
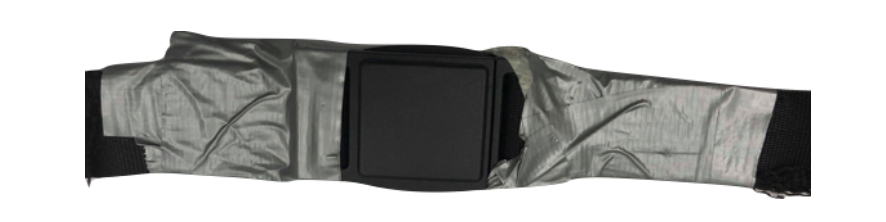
Next, we wanted to focus on the stiffening element of our buckle. Our first prototype showed promise with the popsicle sticks, as it made sliding the buckles apart a lot easier. However, we decided to expand on this idea and make an attachment that would be a lot more durable and robust than just duct tape and wooden popsicle sticks. To make the design process easier, we decided to focus on attaching the strap attachment to the purchased Fidlock buckle.
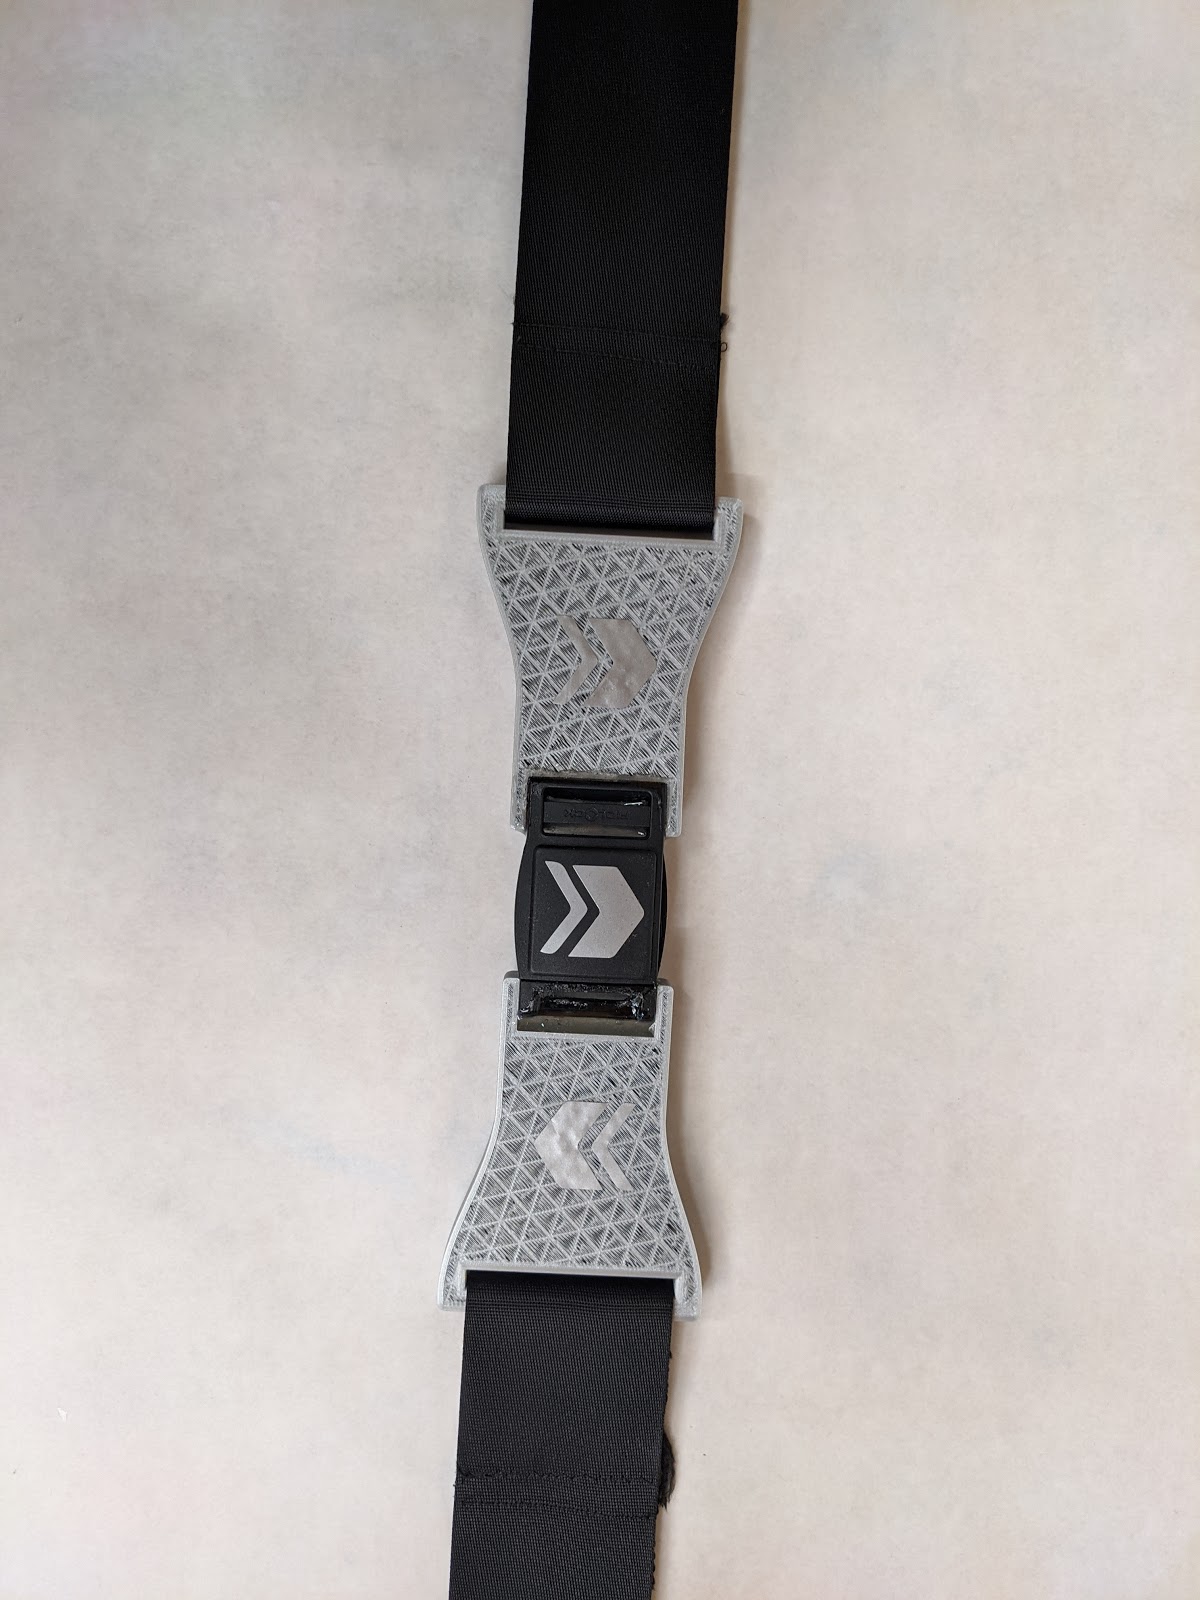
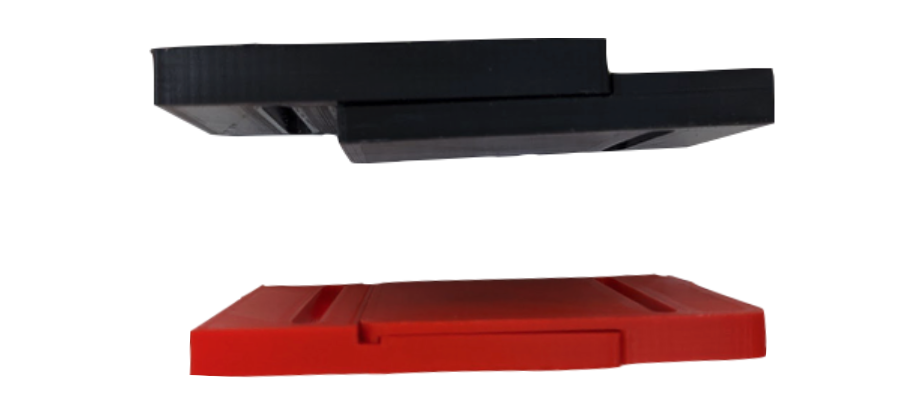
As seen above, our final prototype was successful. After printing out our strap attachments, we decided to leave the top half of the print unfinished to add some more texture for a greater grip. We also were able to glue the Fidlock buckle to the strap attachments, and sew standard wheelchair straps to the slots of the handles. Finally, we added three stickers to the buckle and handles in order to clarify the direction of sliding.